

When you want a repair for being unable to put in the replace for iOS 17, know {that a} resolution is close to. I’ve been operating iOS 17 on my iPhone 15 Professional since I acquired it, and I really like the entire nice options and every part that it supplies. Nonetheless, earlier than I acquired my new iPhone, I used to be having points getting iOS 17 on my iPhone 12. Fortuitously, I used to be in a position to determine it out, and now I might help the small share of customers additionally experiencing this downside. Let’s have a look.
Why Received’t My iPhone Replace to iOS 17?
There will be quite a few the explanation why you could be unable to improve your iPhone to iOS 17. Most certainly, the problem will be inadequate storage, however smaller points akin to web connectivity issues or small software program bugs may stop an replace. You additionally want to make sure your iPhone has the right battery stage. Fortuitously, it’s straightforward to get your iOS 17 replace working by exploring the options under.
How Can I Repair iPhone Not Updating to iOS 17?
Earlier than transferring on, let’s check out some frequent causes and options earlier than diving into the extra complicated issues.
- Verify Compatibility: Your iPhone could are compatible points with iOS 17. Verify device compatibility here.
- Unstable web connection: Guarantee you have got a correct Wi-Fi community or mobile connection. Ideally, Wi-Fi is healthier than mobile for software program updates. Moreover, be certain that Airplane Mode is not active.
- Power restart your iPhone: A easy restart could clear small bugs and errors. Go to Settings > Basic > Shut Down after which drag the Energy Off slider to the proper. You’ll be able to flip your iPhone again on with the Energy button.
- Allow Computerized Replace: Go to Settings > Basic > Software program Replace and be certain that Computerized Updates is turned on.
- Verify Apple Servers: Apple’s servers could also be down. This one is usually unlikely, however it’s attainable. You’ll be able to check Apple’s server status through its official page.
- Verify Battery: In case your battery is less than 50 percent, you gained’t have the ability to obtain the replace. Cost your iPhone with a lightning cable or USB cable and take a look at once more.
If the above options didn’t assist, contemplate the next viable options.
1. Free Up Storage Area
NOTE
When you tried to put in the replace and it failed, iPhone Storage can be the place you’ll be able to go to delete the replace and take a look at once more. The replace will likely be inside your listing of apps. Click on it and choose Delete Replace to attempt once more.
One of many frequent causes you could not have the ability to set up a serious replace is that you’ve got inadequate storage in your iPhone. When making the replace to iOS 17, you’ll need round 20 GB of free space for storing. Fortuitously, your iPhone can make recommendations on what to delete. Alternatively, we recommend utilizing a sensible cleansing app like Intego Washing Machine, because it removes all caches, pointless recordsdata, and junk recordsdata nearly immediately, saving a major quantity of house in your iPhone. If not, don’t fear, you’ll be able to at all times comply with the guide steps under.
Time wanted: 5 minutes
First, let’s verify your space for storing.
- Out of your iPhone, go to the Settings app.
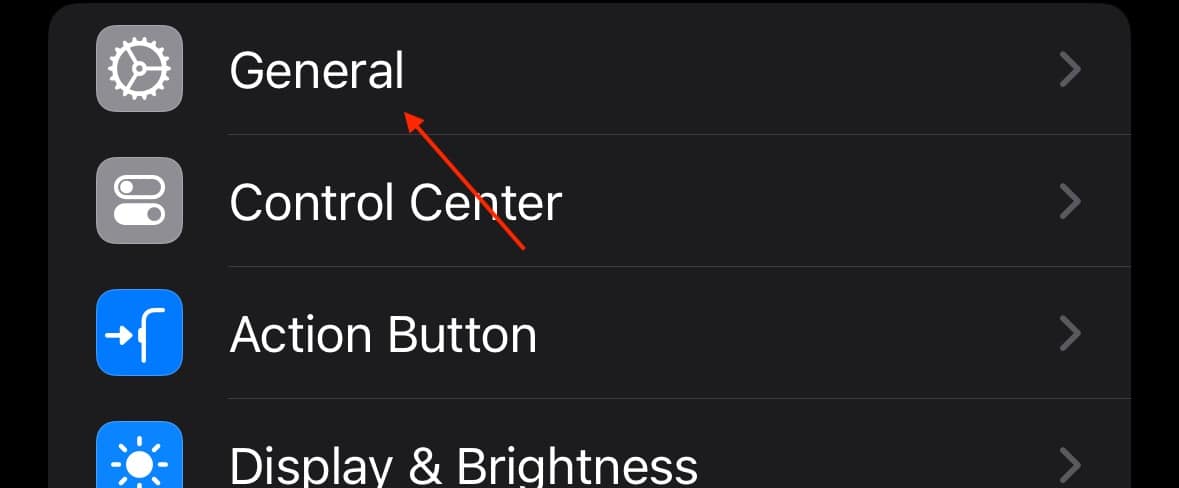
- Choose Basic.
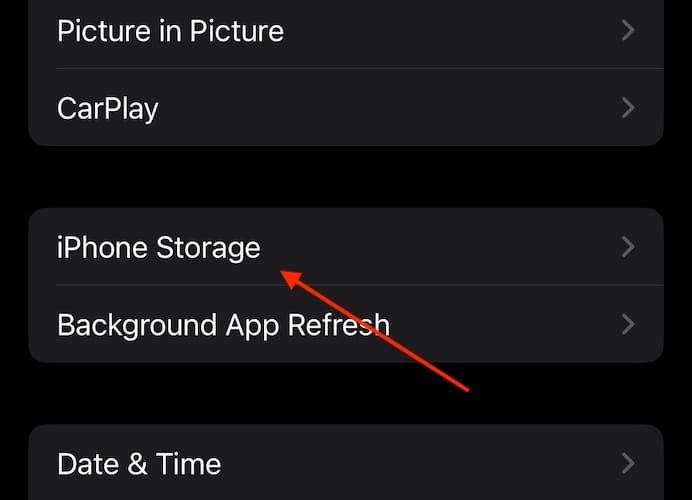
- Faucet iPhone Storage.
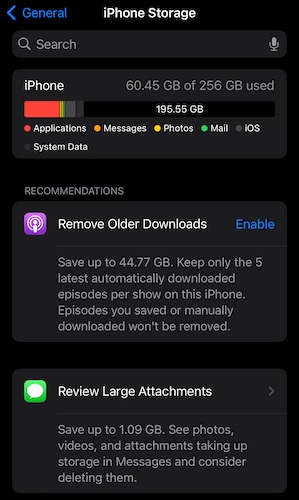
- From right here, you’ll be able to verify your space for storing, providing you with an thought of what you could have to take away. Possible bigger apps and photographs. Nonetheless, you might also have the choice to Take away Older Downloads and Overview Bigger Attachments. Ought to you have got these choices, give them a attempt.
2. Replace Through iTunes or Finder

NOTE
When you’re nonetheless having points accessing and putting in the iOS 17 replace, try using iTunes and/or Finder to put in the replace. Utilizing a lightning cable or USB cable to plug straight right into a desktop can provide you a stronger connection to obtain the replace.
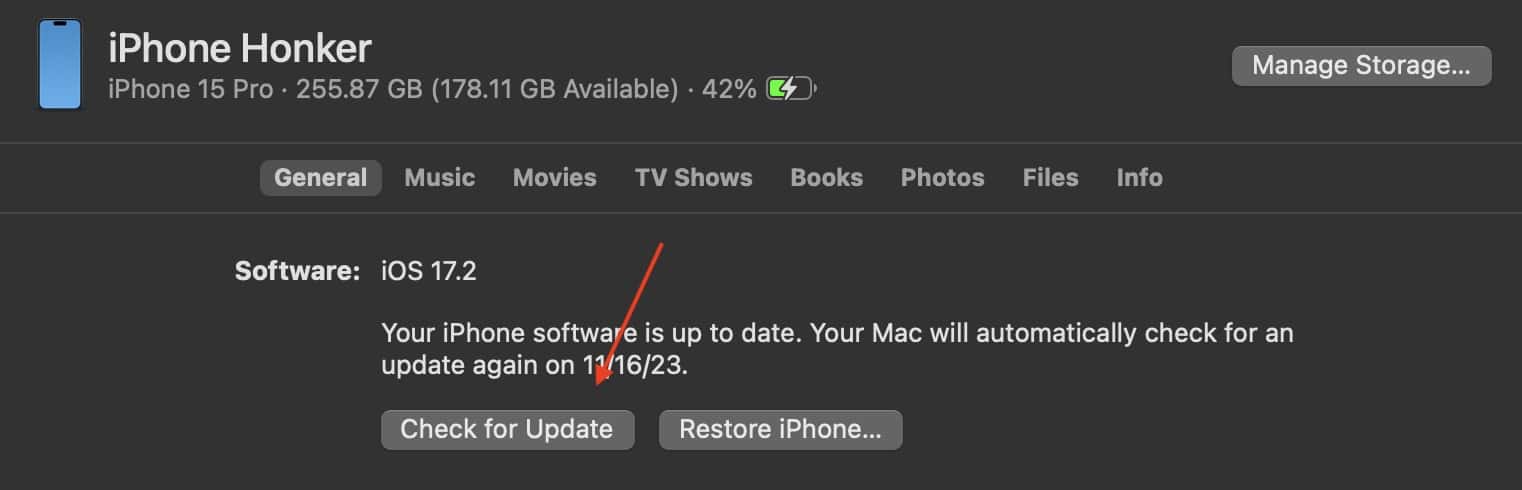
- Join your iPhone or iPad to your pc.
- Wait to your gadget to indicate up in iTunes or Finder.
- As soon as it presents itself, choose Verify for Replace and comply with the steps onscreen.
How Do I Power iOS 17 to Replace?
The quickest option to power the iOS 17 replace is to go to Settings > Basic > Software program Replace and choose Replace. That is the quickest option to replace your appropriate gadget. You can even be certain that Computerized Updates is enabled from this display screen. Guarantee that you’ve got the right space for storing and steady web connection earlier than you try and obtain and set up the replace.
Conclusion
The general public launch of iOS 17 brings a wealth of awesome features to iPhone homeowners via its exceptional replace. Nonetheless, having points putting in the replace is probably going to offer you a headache along with lowering gadget efficiency. Fortuitously, an answer is obtainable. It’s doubtless a minor difficulty stopping the replace, that means a fast repair is all you have to begin having fun with iOS 17.
You probably have any suggestions or further recommendations, please tell us within the feedback.