

Putting in fonts in macOS Sonoma is sort of as straightforward as downloading them. This is how one can add them to your Mac.
Fonts are the important thing to handsome designs and paperwork; there are a lot of methods to obtain free or paid fonts to make use of together with your Mac. Apple additionally contains some fonts in macOS Sonoma that should be activated earlier than they can be utilized.
There are a number of easy methods to put in fonts in macOS Sonoma. The distinction is the place the fonts to be put in stay in your Mac.
macOS has a built-in font administration software referred to as Font Ebook. It’s discovered within the Functions folder and is put in by default with macOS Sonoma.
There are a number of frequent file sorts for fonts: OTF, TTF, and WOFF. These steps will work for any of those file sorts.
Fonts might be put in with a single click on.
set up fonts on macOS Sonoma from Font Ebook
- Open Font Ebook
- From the File menu choose Add Fonts to Present Consumer or press Command+O
- Find and choose the font you need to set up
- Click on Open
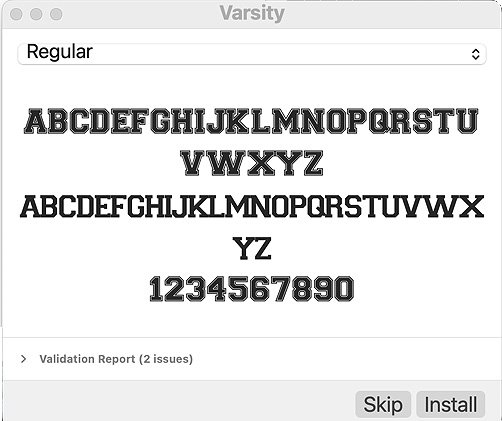
- Font Ebook will show a preview of the font. Click on the Set up button
- When putting in a number of fonts, you will need to click on Set up for every font
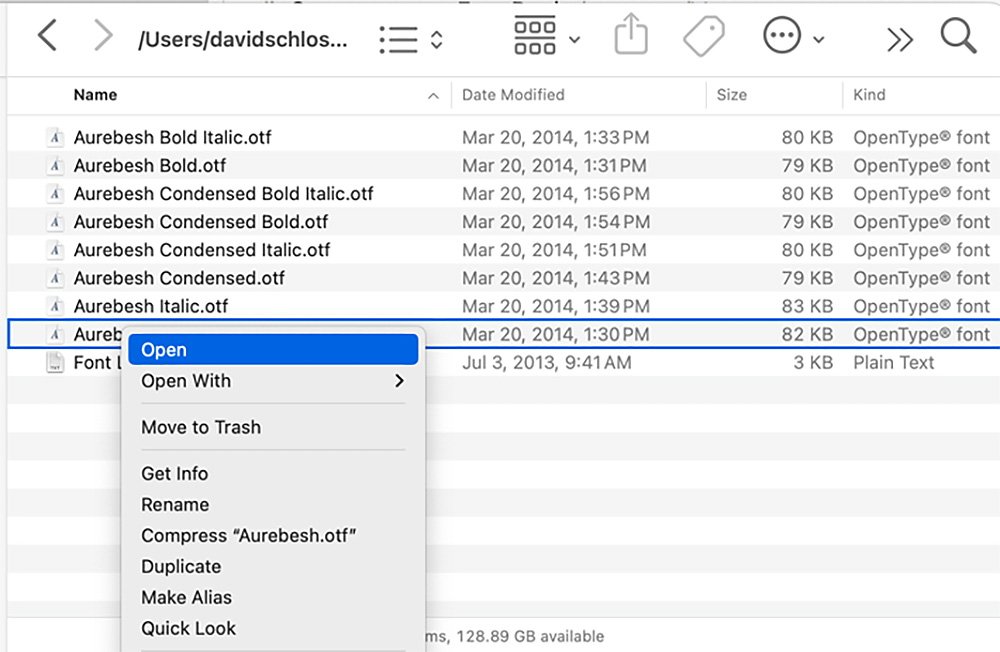
When you already know the place the fonts you need to set up are positioned, you do not want to open them from inside Font Ebook. You possibly can open them within the Finder, and they’ll mechanically launch Font Ebook.
Open a font by choosing in Finder and urgent Command+O
set up fonts on macOS Sonoma from a folder
- Discover the font you need to set up
- Double-click on the file or click on the file to pick out it and press Command+O to open it
- If you would like to put in a number of fonts as a substitute of a single font, choose all of them first, then double-click any of the chosen fonts
- Alternately you possibly can press Command+O
- Font Ebook will show a preview of the font. Click on the Set up button
set up the fonts on macOS Sonoma by way of drag-and-drop
- Choose the font or fonts you need to set up
- Drag them into Font Ebook
- Font Ebook will show a preview of the font. Click on the Set up button
- When putting in a number of fonts, you will need to click on Set up for every font
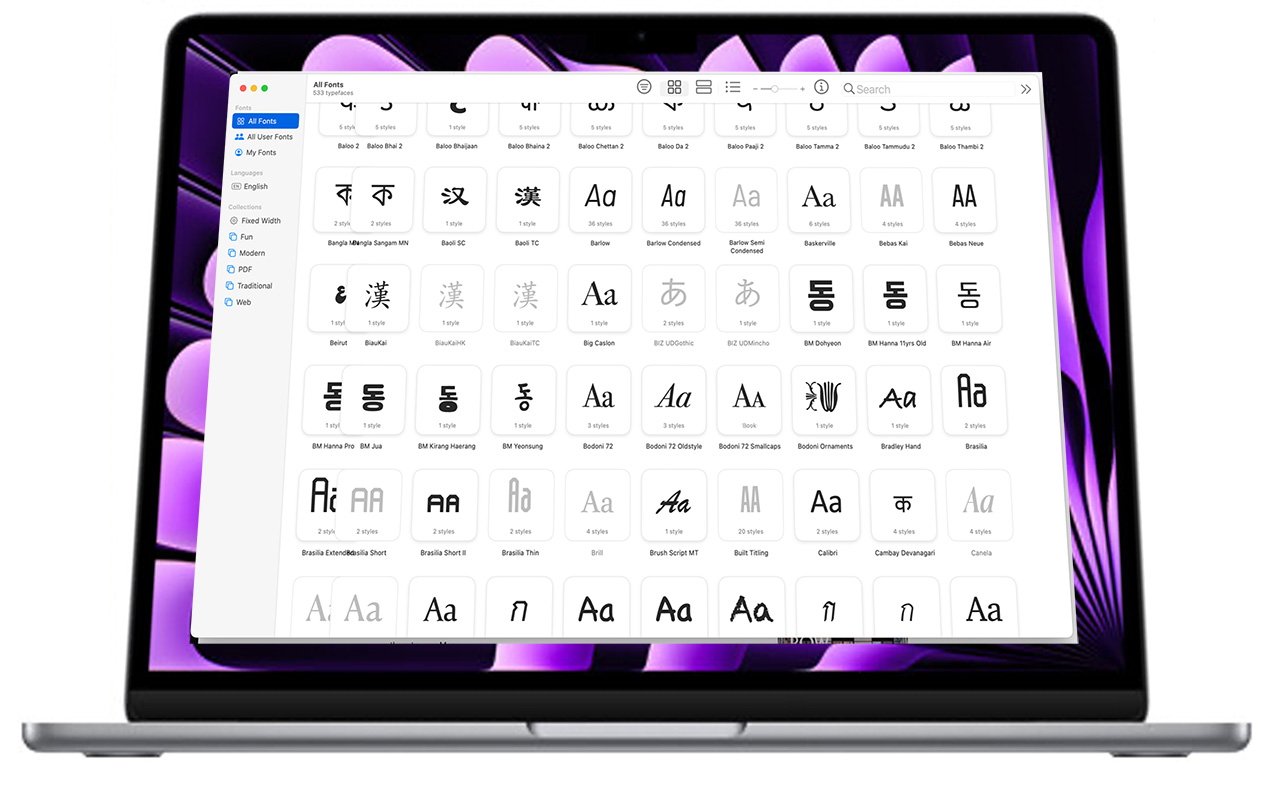
Apple contains a number of fonts with Sonoma that, by default, are usually not put in. Many of those fonts are for non-latin alphabets like Japanese and Mandarin.These free fonts might be simply added to the accessible fonts utilized by your Mac.
Apple has many accessible fonts that aren’t put in by default.
set up fonts that include macOS Sonoma
- Open Font Ebook
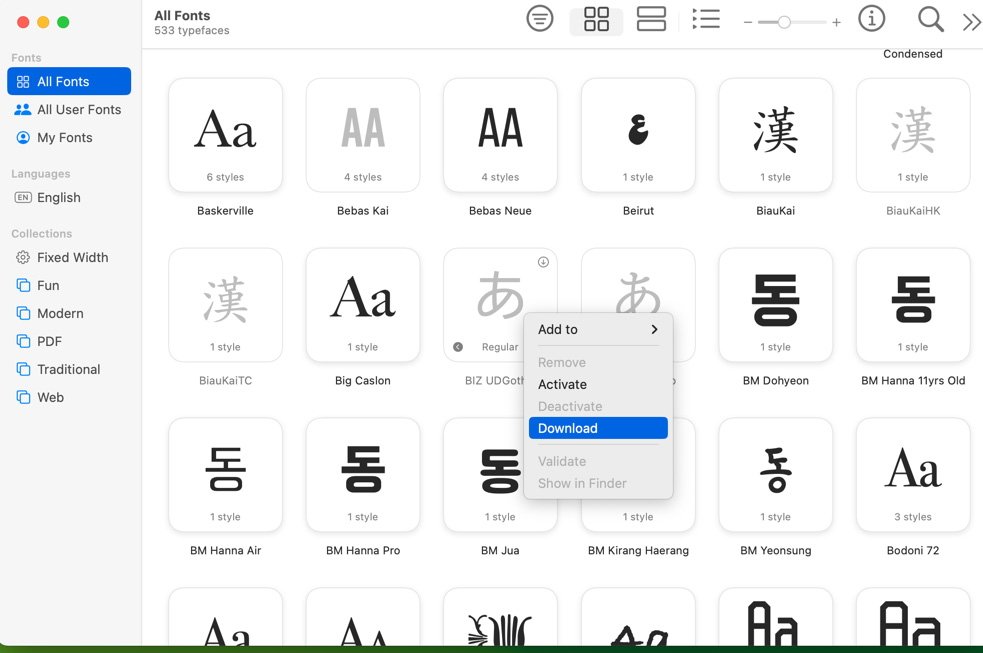
- Choose All Fonts on the left pane of Font Ebook
- Browse the listing for any grayed-out fonts. These are the fonts Apple contains with Sonoma
- Choose a font you want to set up, or Command+click on to pick out a number of fonts
- Proper-click on the font and choose Obtain
When you set up many fonts, you could find yourself with duplicate fonts. Whereas not dangerous to your system, having duplicate fonts might be complicated when working in design or textual content modifying functions.
Eradicating duplicate fonts is an easy course of and solely takes a number of steps.
take away duplicate fonts in macOS Sonoma
- Open Font Ebook
- Click on on All Fonts within the left panel
- Go to the File menu
- Choose Resolve Duplicates
- Select both Resolve Robotically, which can mechanically transfer duplicates to the trash, or Resolve Manually, which lets you overview and take away duplicates one after the other
- If you’re eradicating duplicates manually, choose the “Inactive” model of every font to take away and press Resolve This Duplicate
- When you begin resolving fonts manually after which resolve you need to change to eradicating them mechanically, choose Resolve All Duplicates
Alternately, after you choose All Fonts you possibly can press Command+L